Groups in ALO
Groups in ALO
In ALO there are two types of groups that can be set up. They are informally referred to as Public or Private groups.
If a group is set up by a school or district admin, it is considered a public group and it is visible and accessible to others with school or district access. Additionally, users with school or district access can manage the group - add or remove staff or students from the group.
If a group is set up by staff with lower level access, such as a teacher, the group is considered “private” and the functionality is more limited. Higher level staff can still see the group, but they can't manage it like they can public groups.
Setting up a Group
There are two ways to set up a group in ALO: using the Multi-Select Tool or using the standard Groups option.
- Set up a Group using the Multi-Select Tool.
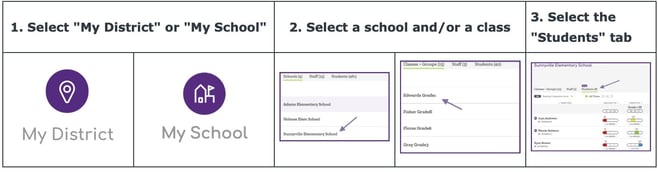
To use the Multi-Select Tool, first navigate to the Student List View following the directions below. Note that you can pull up a student list at the class or school level.
To access the multi-select options, click on the open circle in the header row, or next to select students. You can add or remove students that are selected by clicking on the circles.
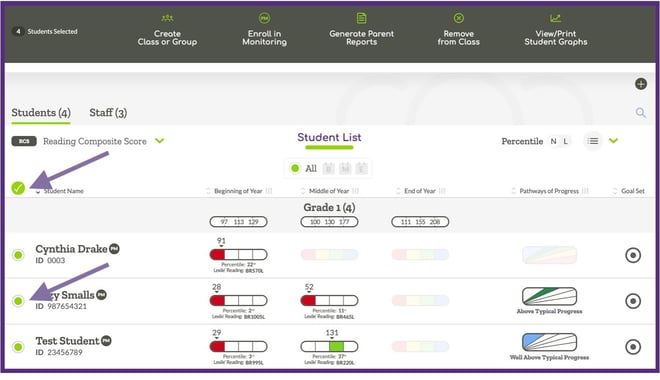
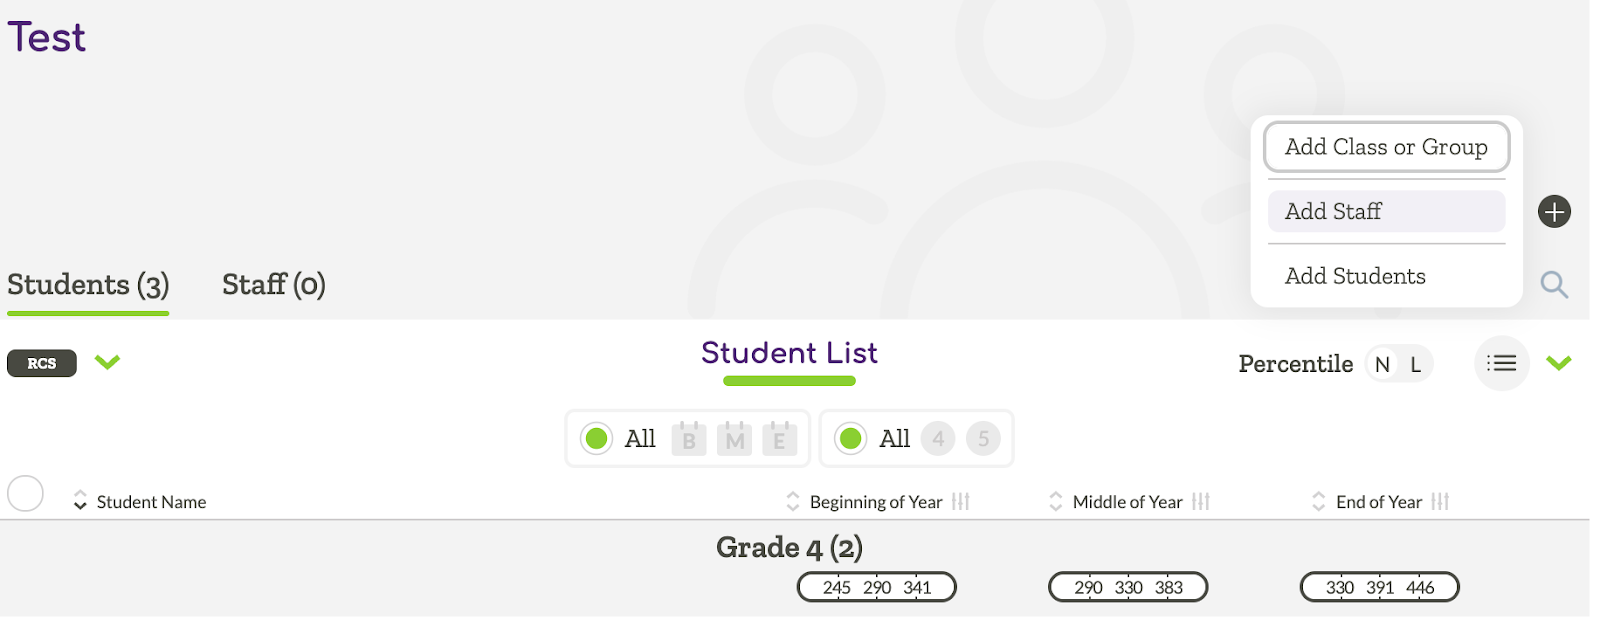
Once the desired group of students has been selected, choose the “Create Class or Group” option.

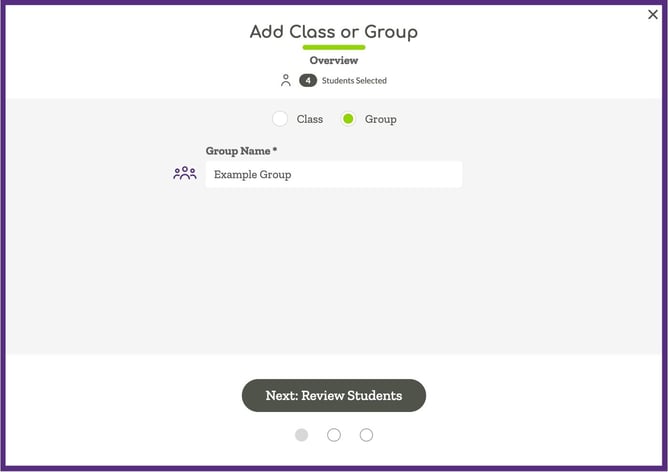
When making this selection, you will need to name your class or group.
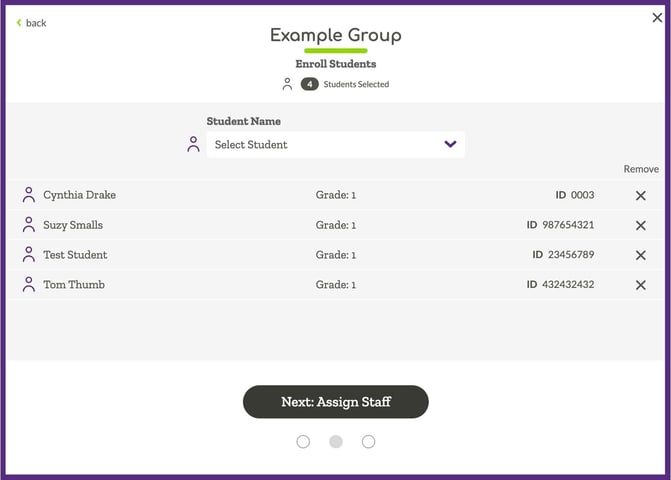
The next step allows you to review the students who will be added to the group and make changes if needed.
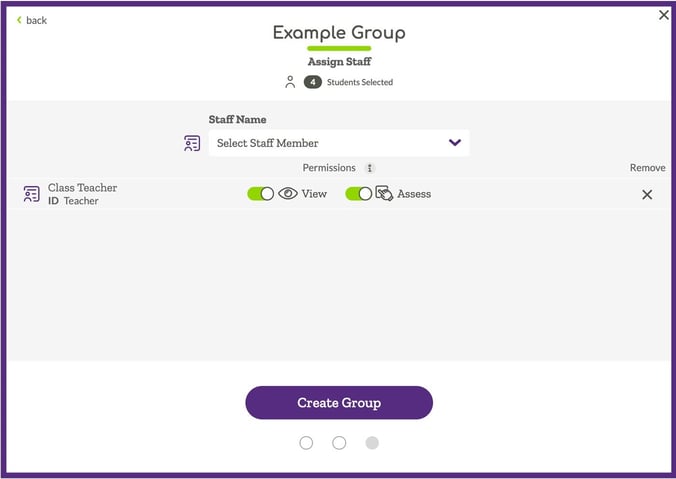
The last step provides an opportunity to set staff members up with access to the class/group. Finish setting up the group by clicking on the “Create Group” button. (note that teachers setting up a group won’t have this option).
- Set up a Group using the standard Group option.
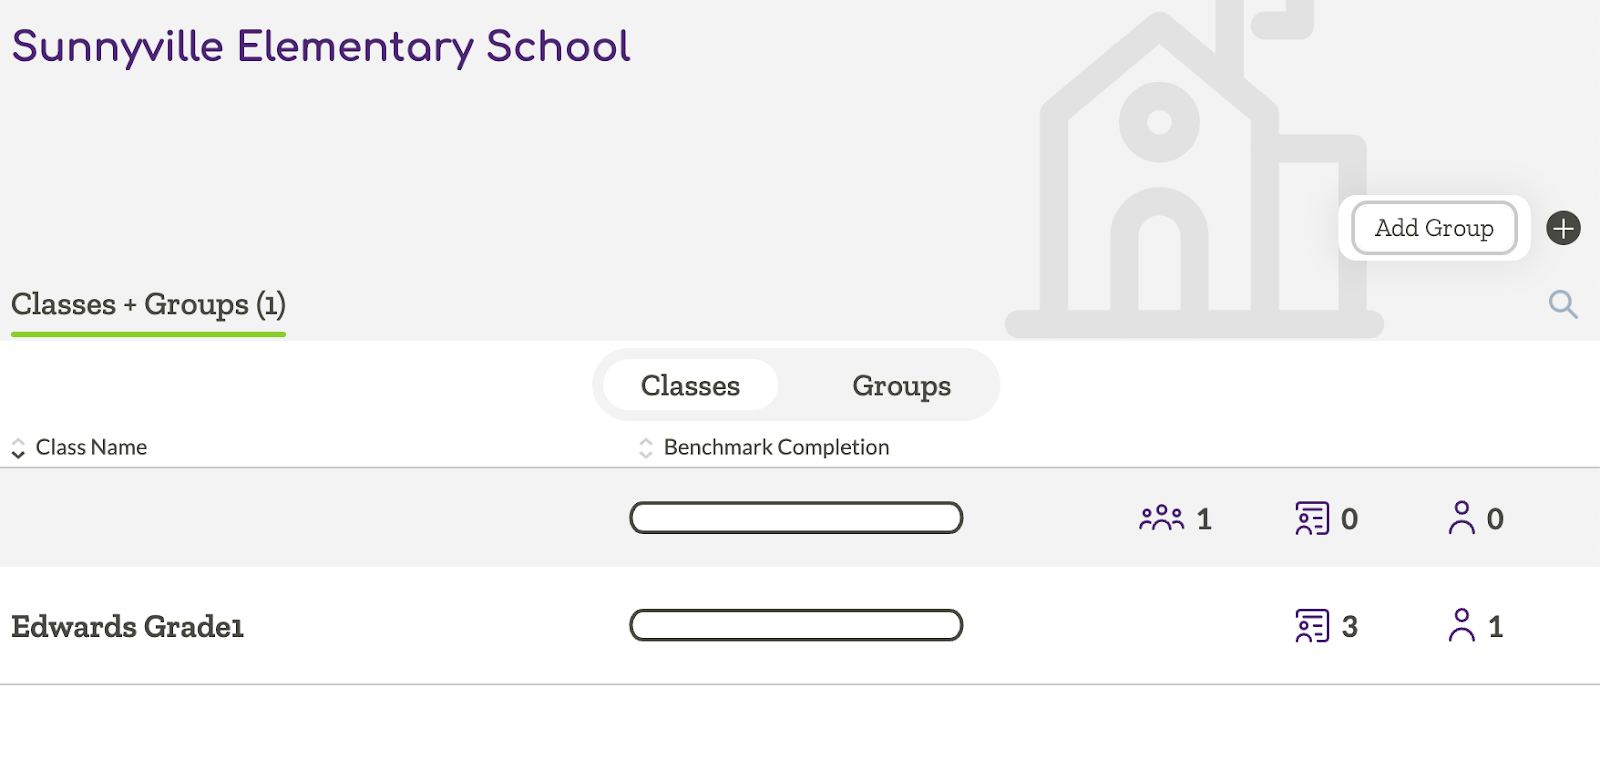
First navigate to a school where you would like to create the group, then click on the plus icon and select “Add Group.”
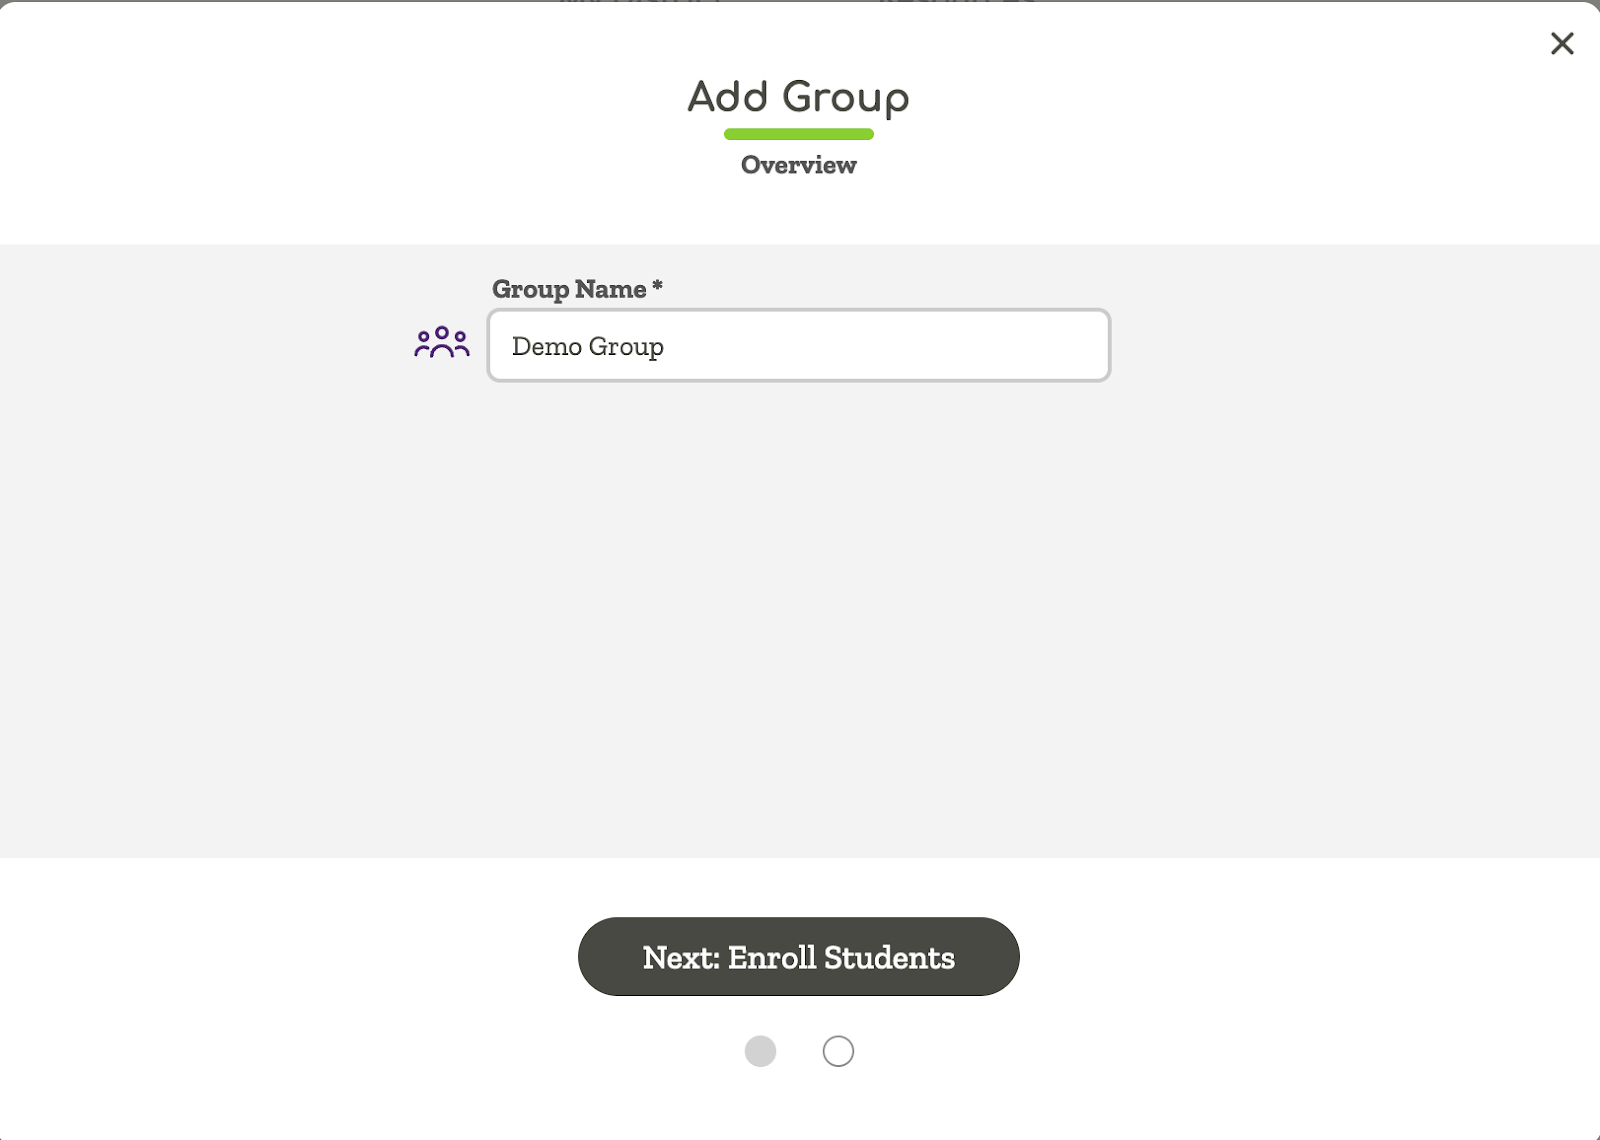
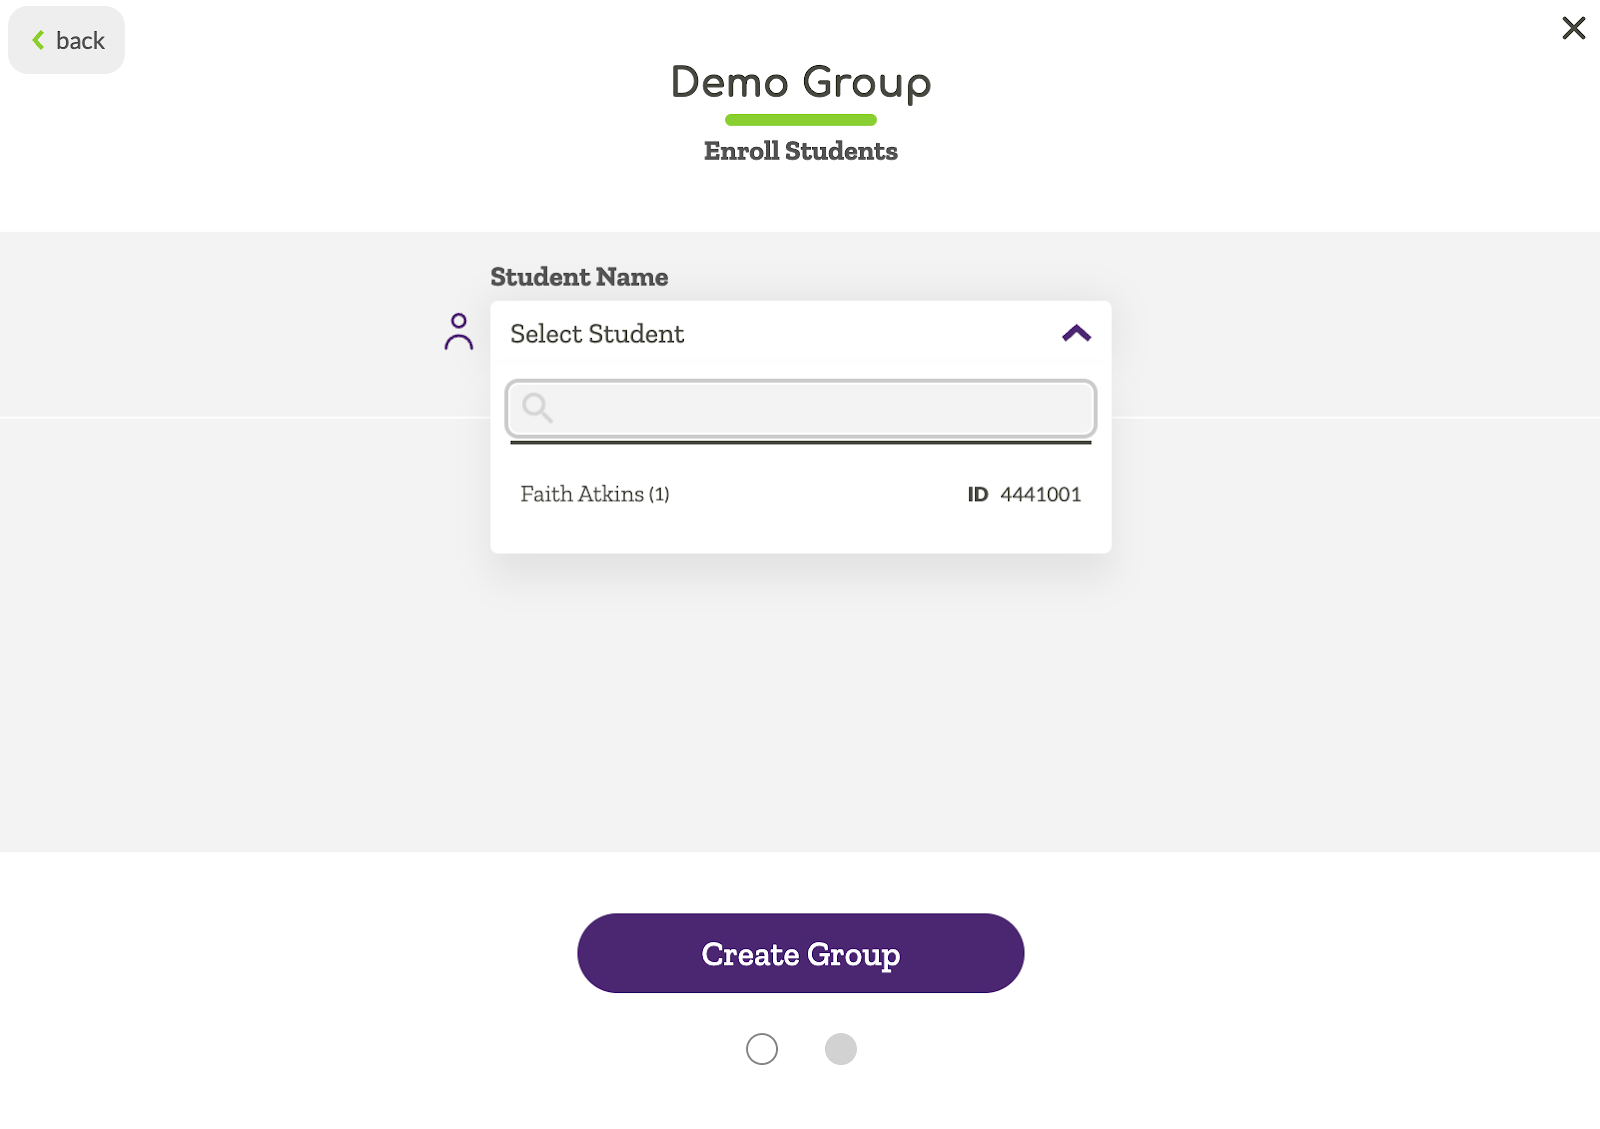
Then enter a name for the group and click on “Next: Enroll Students.”
Then select students you want to add to the group, you can add multiple students by selecting a name then going back to the drop down menu and selecting additional students. After the students you want to add to the group have been selected, click on “Create Group.”
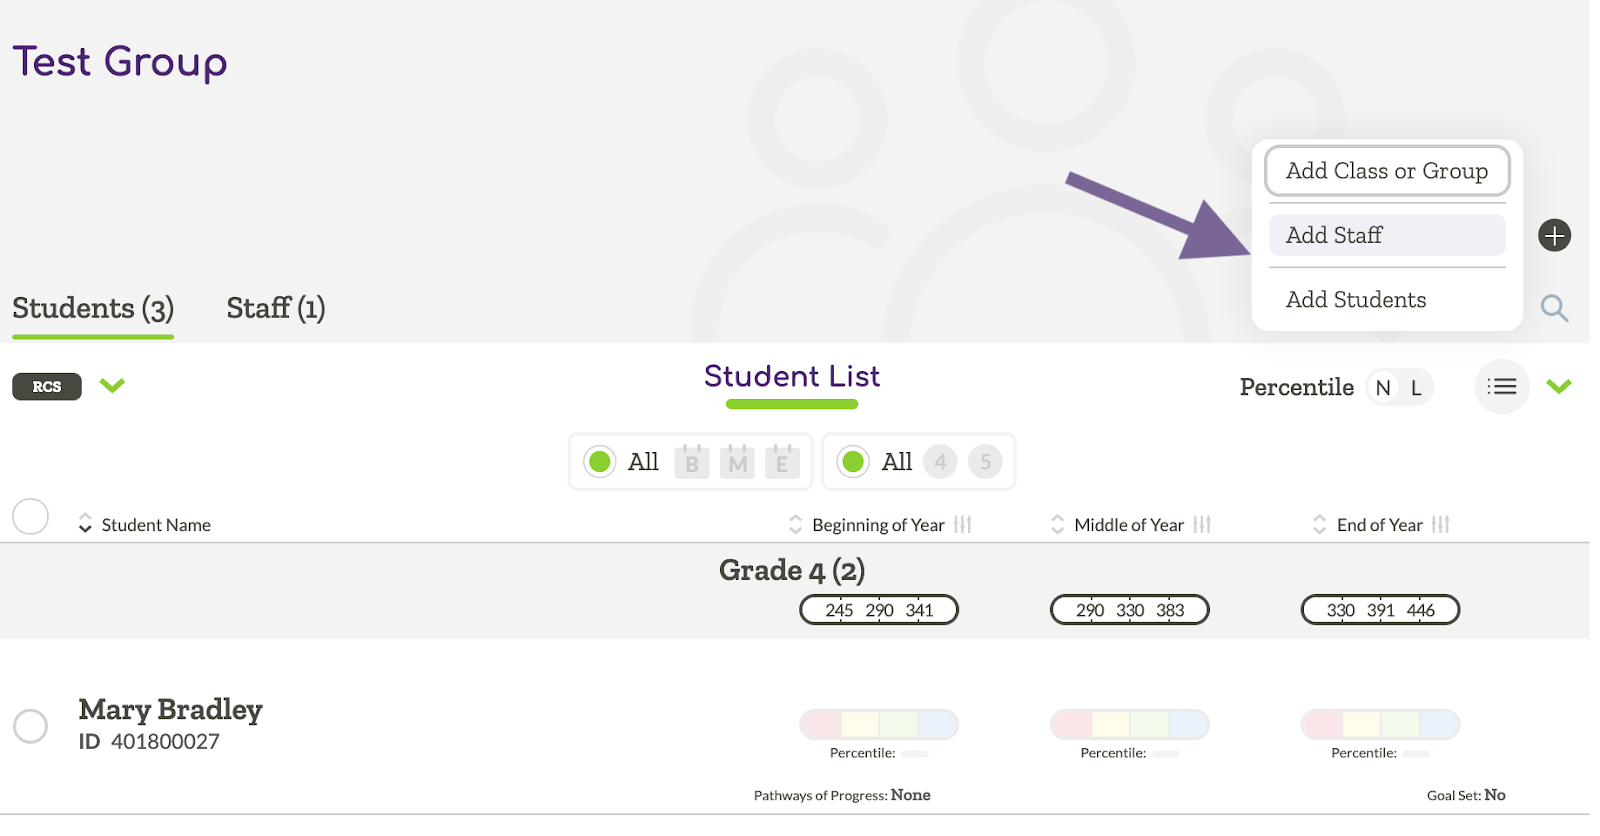
For a “Public” group, staff can be added by navigating to the school selecting the group, then using the “Add Staff” option found in the Plus Icon.
Editing a Public Group
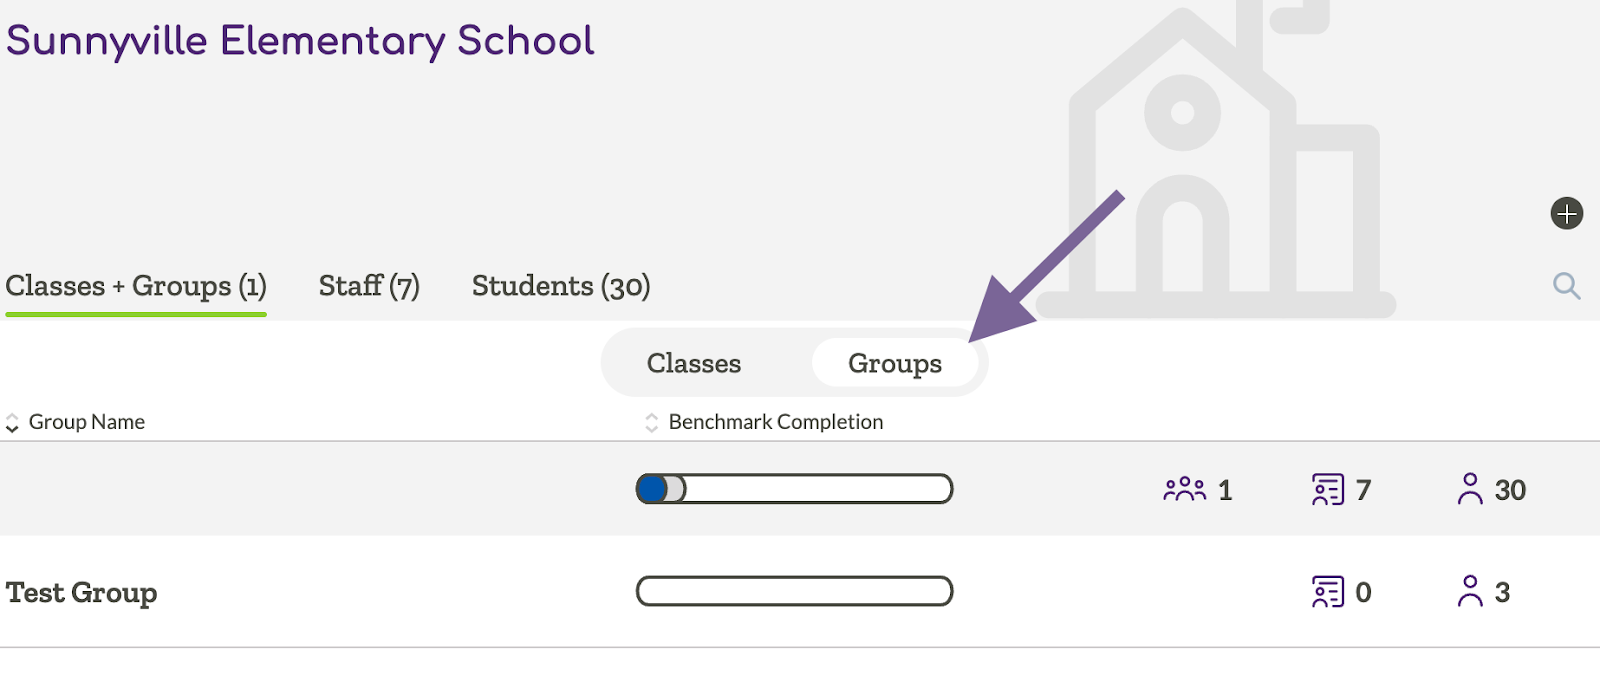
To edit a group, first navigate to a school, then change the list to Groups. Then select the group.
From there, you can remove students from the group using the Multi-Select Tool.

Or you can add staff or students using options found in the Plus Icon.
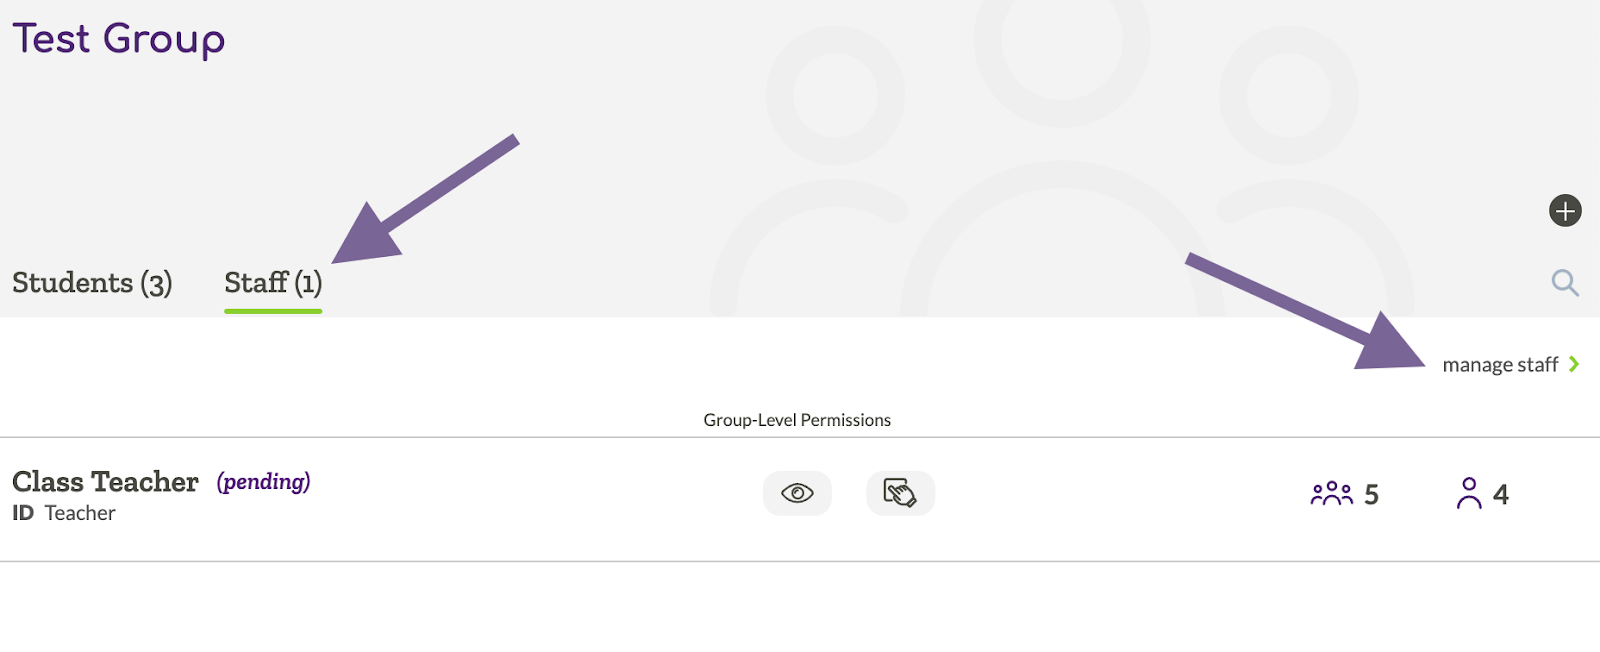
If you need to edit staff permissions (for staff already added to the group), select the “Staff” tab, then select “Manage Staff.” From there you can toggle on or off permissions for staff, or remove staff from the group.